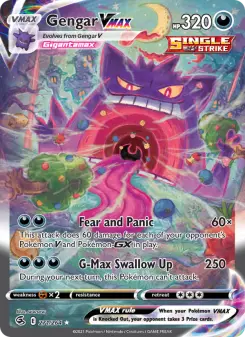
Build a Gengar binder with the whole spooky evolution line
Pokémon spotlightJuly 29, 2026
What belongs in a Gengar binder?
A Gengar collection usually follows one of four rules:
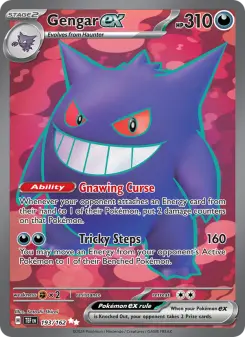
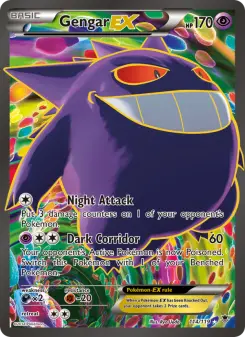
- named Gengar cards only
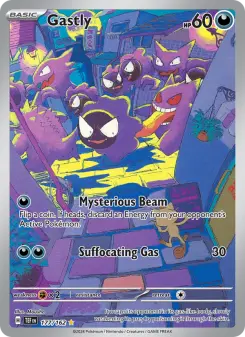
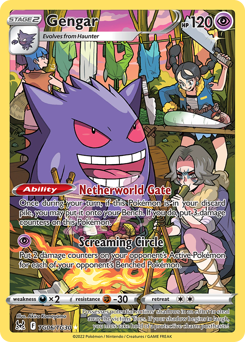
- Gastly, Haunter, and Gengar together
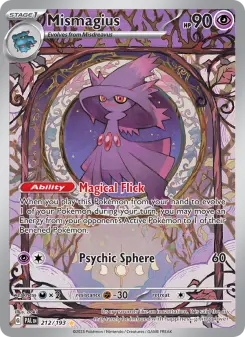
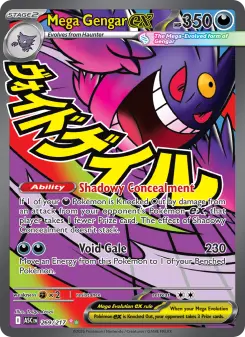
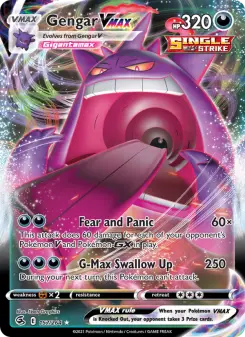
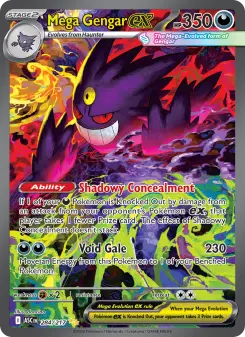
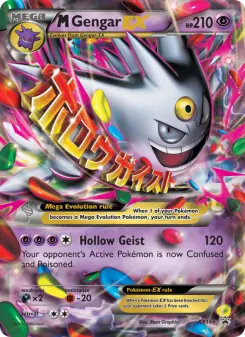
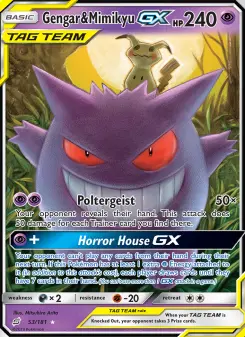
- special forms and partner cards
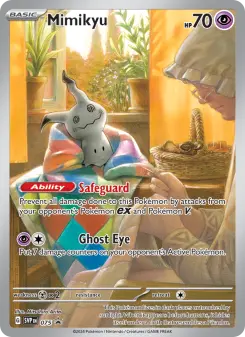
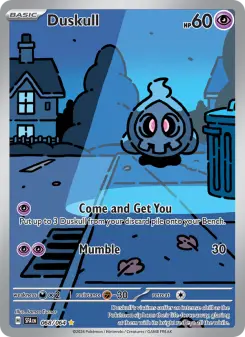
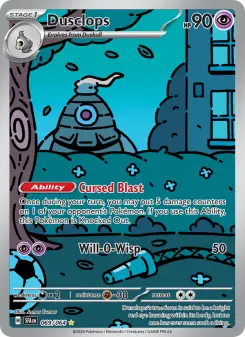
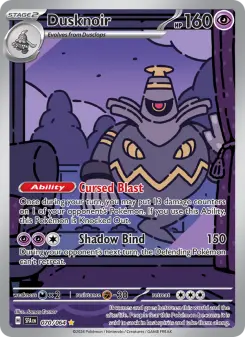
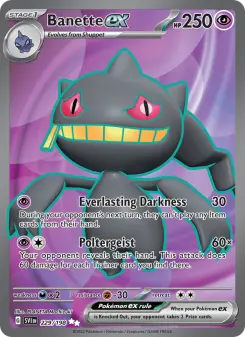
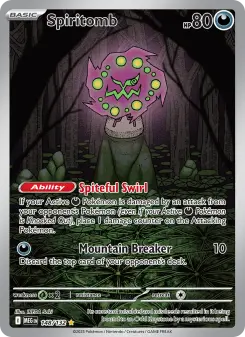
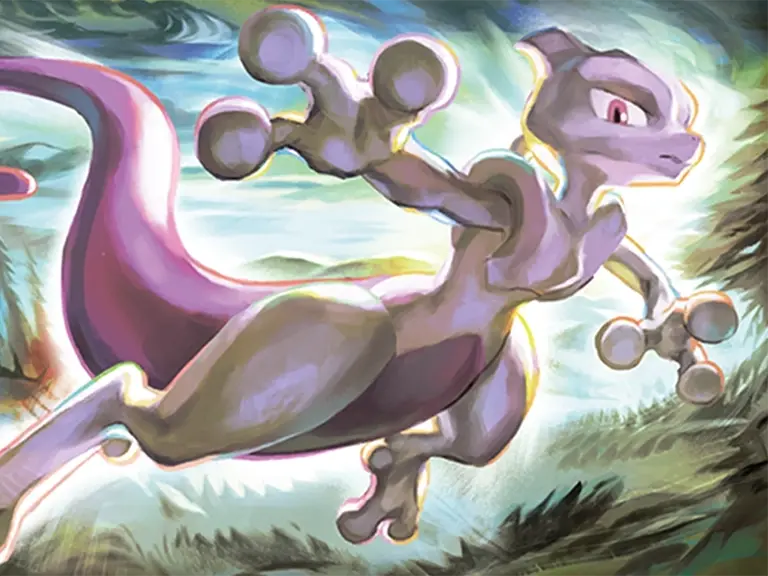
- cameos where the evolution line appears in another card’s artwork
Cameos can quickly become a collecting project of their own. Decide how visible the Pokémon needs to be for a card to count.
How many pages should you start with?
The four-page starter holds 36 cards. That's enough for favorite Gengar artwork, one evolution-line page, and a small cameo section.
If you want every named Gengar card, start larger. Adding Gastly, Haunter, different printings, and cameos expands the scope again, so keep those sections separate in the plan.
How should you organize the pages?
For a full evolution line, build rows from Gastly to Haunter to Gengar. Repeat the sequence with cards from the same set, era, or art style.
A Gengar-only binder works well in release order. Keep named forms and partner cards with their era, then put cameos at the back.
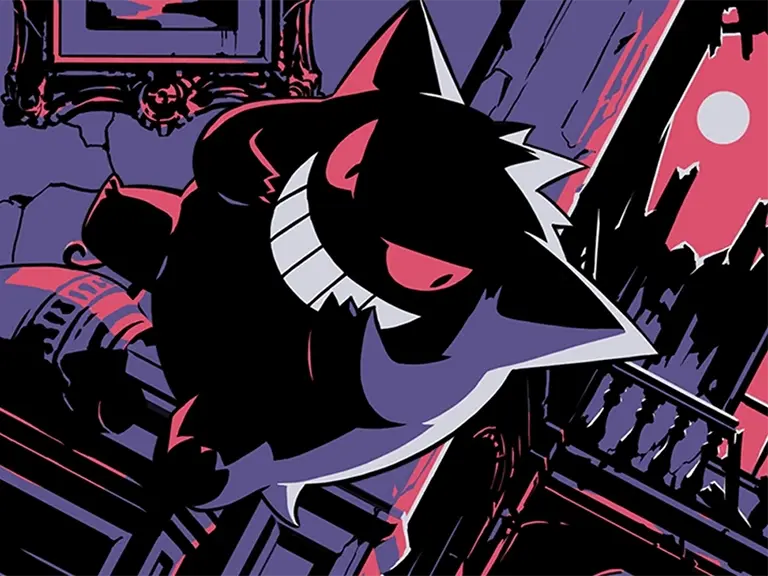
An art-first version can ignore dates, moving from playful purple pages into darker, spookier artwork. Gengar and Mimikyu cards also make easy page anchors.
Leave room for forms and new cameos
Keep one empty page after the main Gengar run and another after the cameos. That's less awkward than leaving an empty pocket between every card.
Save known cards. Cameos can stay as a separate list until you decide they fit your rule.
Build it in Card Binder Ideas
Open the four-page binder above. Try an evolution page, a Gengar favorites page, and a cameo page before making the collection any bigger.
Use Adjust setup for a larger master run, or remix one of the public examples below.