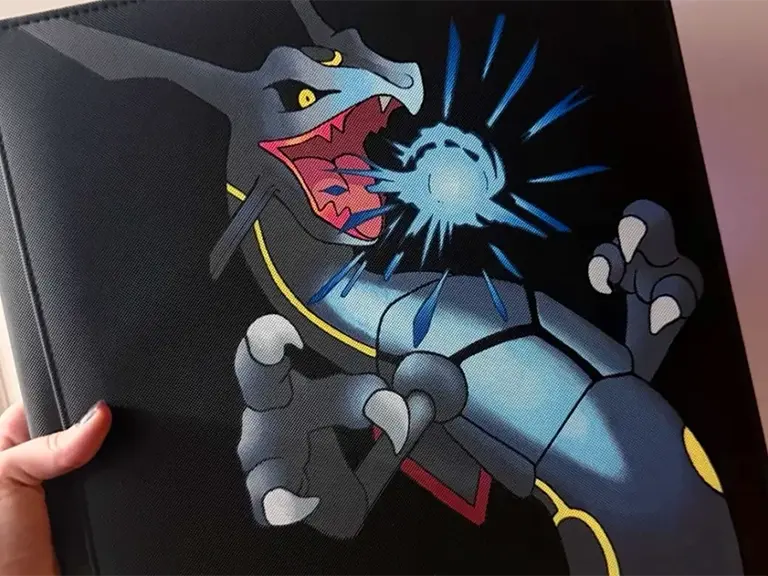
How to paint a Pokémon binder cover
Cover guideAugust 3, 2026
Watch the process
One walkthrough focuses on preparing a textured cover. The other shows a complete acrylic-marker design.
Painting My VaultX Binder: Experiment 2, Prepping the Surface
Nine Pocket Tales
I made a CUSTOM Pokemon Binder with ARRTX Acrylic Markers!
pooji
Can you paint a Pokémon binder cover?
Yes, but the cover matters as much as the paint. A textured zip binder might use leatherette, coated fabric, plastic, or a brand-specific material. The same paint and clear finish can behave differently on each one.
Start with an empty binder. Take the cards out, keep the pages closed, and mask the zipper and any edges you do not want to paint. A cheap spare binder is useful if you want to practise before working on your main collection.
What supplies do you need?
Choose the paint, optional ground, and finish for the actual cover surface before buying a large set. The paint and materials guide compares plastic, fabric, artificial leather, and textured covers.
For the painting itself, this is enough:
- a clean, empty binder
- paper for the original sketch
- graphite transfer paper, white charcoal, or a light pencil
- low-tack painter's tape
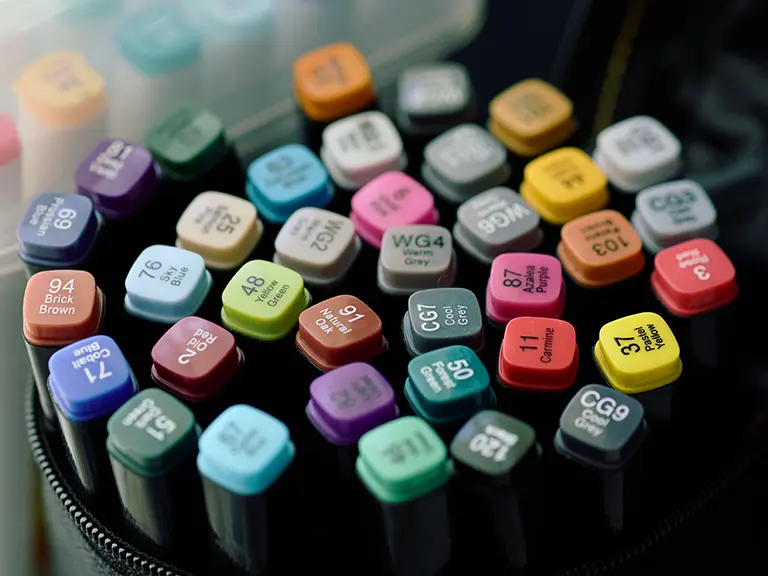
- acrylic paint and soft synthetic brushes, or acrylic paint markers
- white acrylic paint for a base layer on dark covers
- a small palette, water, and a soft cloth
Test the cover before cleaning it
Try the full process on a hidden corner: cleaner, ground, paint, and clear finish. Let the sample dry, then bend the cover gently and rub it with a clean finger. Stop if the surface becomes sticky, the original color lifts, or the paint cracks.
A soft, barely damp cloth is the safest place to begin. Do not assume rubbing alcohol is suitable just because it worked on another binder. Collectors have reported that it can remove the factory finish from some Vault X covers.
How do you transfer the design?
Draw the artwork at the same size as the binder cover. This is the easiest point to adjust the pose, leave space around the zipper, and decide whether the design should wrap toward the spine.
Graphite transfer paper works well on lighter covers. White charcoal or white transfer paper is easier to see on black and navy. Trace only the lines needed for the first paint layer. Too much graphite can smear into pale colors or a brush-on finish.
For a first cover, one large Pokémon with a few small background shapes is more manageable than a full scene. It also leaves enough open space for the binder's texture to remain part of the design.
Acrylic paint or acrylic markers?
Both work. Regular acrylic paint is better for mixed colors, gradients, and larger areas. Brush-tip acrylic markers are tidier and make outlines or small details easier, but a rough cover can wear down the nib and may need several passes for solid color.
You do not have to pick one. Block in the large shapes with a brush, then add edges and small details with markers. On a dark cover, paint the design area white first and let it dry. The white layer keeps brighter colors from looking dull or patchy.
If you have not chosen the material stack yet, compare the paint, gesso, and clear finish options before starting the full cover.
How do you paint the cover?
- Secure the binder on a flat surface without stretching the cover.
- Transfer the main outline and remove loose graphite or charcoal.
- Add a thin ground or white base only where the design needs it.
- Paint the largest background shapes first.
- Build the Pokémon in thin layers, letting each layer dry before the next.
- Add outlines, highlights, and the smallest details last.
- Remove masking tape before a thick ridge of dry paint locks it in place.
Avoid pressing a marker hard into the texture. If a new pass starts lifting the layer below, stop and let the area dry instead of working it back and forth. Blotting color into deeper texture can give more even coverage than dragging a marker across it.
How do you seal a painted binder?
Give the painting time to dry all the way through. Acrylic can feel dry on top while thicker areas are still soft underneath. Follow the waiting time on the paint and varnish labels. Liquitex, for example, recommends waiting from 72 hours to two weeks before varnishing, depending on paint thickness.
A compatible water-based spray finish is often easier to apply across a textured cover than a brush-on varnish. Use light coats from the distance on the label, keep the can moving, and let each coat dry as directed. Heavy coats are more likely to pool near stitching or leave the surface tacky.
Spray outdoors or somewhere with strong ventilation, away from cards and people. Keep the binder open only as far as needed so the fresh finish is not forced to flex.
When can the cards go back in?
Wait until the cover has no tackiness or strong finish smell and has reached the curing time on the product label. Then flex the cover gently and check the paint around the spine and zipper.
If the test area stays smooth and nothing transfers to a clean cloth, return the cards. Keep the binder away from direct sun and avoid stacking rough items on the painted side.
Share the finished cover
Photograph the whole cover in even light, then take one closer image if the texture or brushwork matters. Include the paint or marker type, binder model, clear finish, and any preparation that helped. Those details make the post useful to the next collector.
Browse painted binder covers or publish your own cover when it is ready.